“Where do I even begin?”
You may have asked yourself that question a time or two before diving into interior design. Whether you’re making a newly built house your Home or redesigning a space you’ve already furnished, these tried-and-true steps are essential to the design process.
Each space should tell the story of the people who live there and should be their ideal version of luxurious living; whatever luxury means to them.
Veronica Solomon — Casa Vilora Interiors
If you don’t know how or where to start, or find yourself struggling in the middle of the project, let these helpful guidelines, directly from designers, lead the way. And once you’re done, you’ll have all the tools to do it again!
But hopefully not right away…
Start Here
Reflect on your lifestyle to understand how you can best design and use your space. Keep in mind these 3 Guidelines for your interior design:
Mood, Function, and Harmony.
In the beginning of the design process, you’ll be focussing on the Mood of your room. This is the overall feeling of the space. For example, if you’re planning for an office or workspace, you may want something light and bright to increase productivity. But in a living room, you probably want to plan a dim, relaxing and inviting environment.
Tip: Don’t forget to make note of the condition of the room. Do the walls need paint? Are the window and door casings looking worn? It’s good to know from the start of the process what needs fixing.
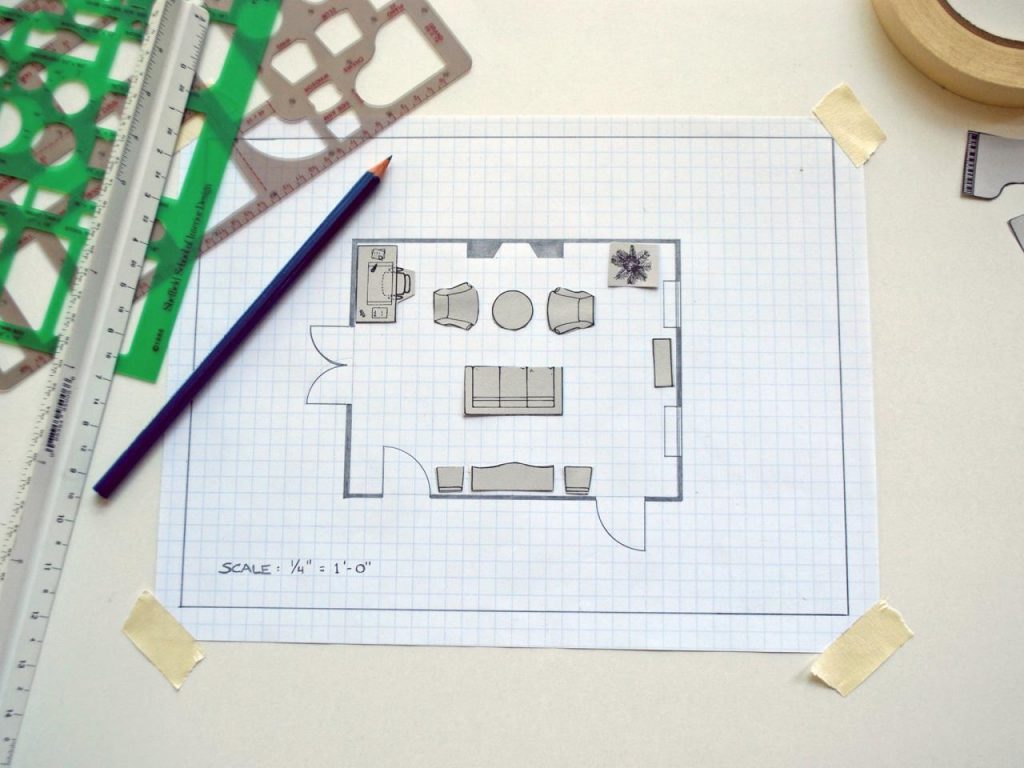
Get It On Paper
Interior design professionals all do this one thing before planning anything else in the space. Draw a floor plan. It’s alright if you’ve never drawn a floor plan— you don’t have to be an artist. And you don’t have to be super detailed. Having this bird’s eye view of the room makes the rest of the interior design process much easier. Now you can plan exactly where furniture will go, what your size limitations are, and where to place lighting.
For instructions on drawing your own floor plan, refer to the Wilmot’s Interior Design Handbook. Download free graph paper here.
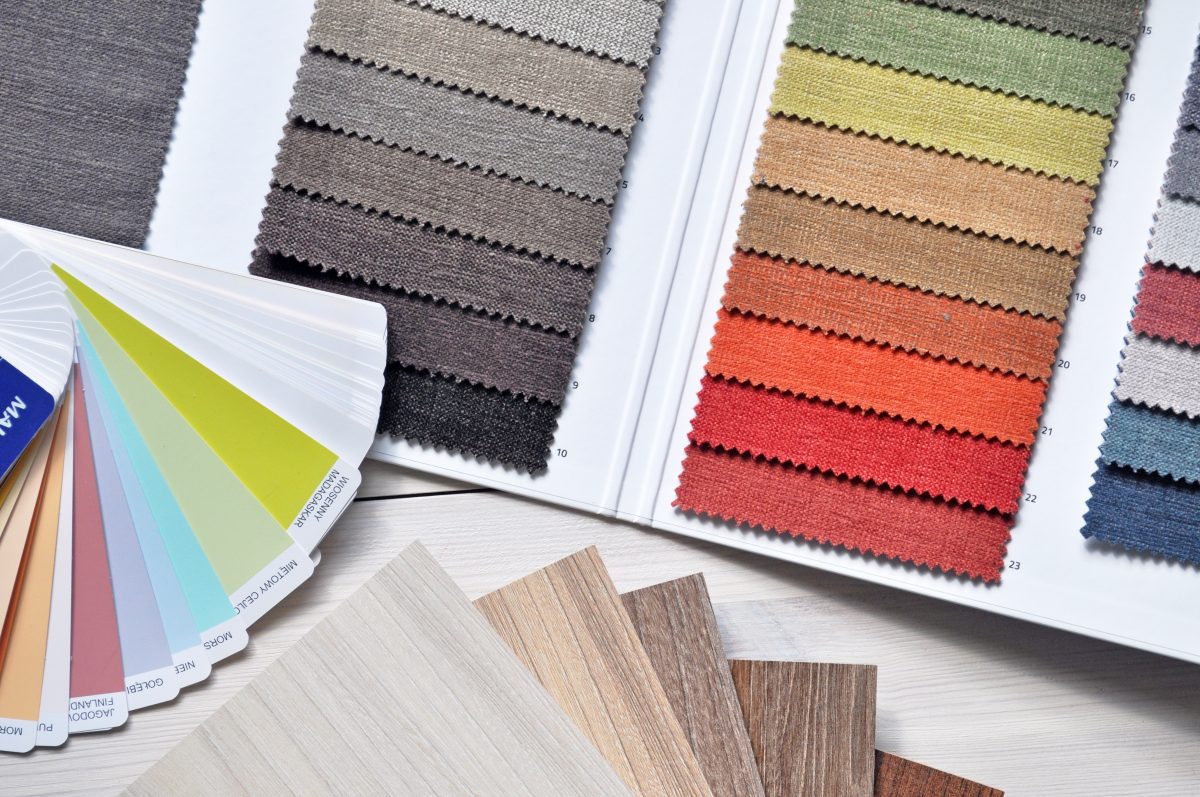
Color Schemes
Like interior design, colors produce “moods” as well. Color is one of the most important parts of creating a well-designed space, so spend extra time working out the color scheme for your room.


You’ll see the color wheel above has been separated by Cool and Warm colors. Any hue that falls between green and violet is considered Cool, while anything between yellow and red will be warm. Be sure you use appropriate colors according to the Mood of the whole space. For example, a rustic cabin in the mountains that experiences a lot of cooler weather would probably not house many cool colors. You’d want to warm that space up with tans, browns, reds and wood tones. But in the hot sun of Southern California, let the space chill out with crisp white walls and fresh greens and blues.
Using the three color schemes below, find what works best for you and remember to maintain the Mood of the whole room with the right color.
Monochromatic — one dominant color with visual interest added by variety of shades, intensity, and texture
Adjacent — one dominant color and accent with colors near it on the color wheel
Complementary — one dominant color and accent with its opposite on the color wheel
And as always, our color consultants are available for in-store or at-home consultations to help you with your color scheme.
Find Your Focus
What is it that you want to stand out most? It may be an architectural detail, like a fireplace, or something moveable, a beloved piece of artwork, perhaps. Whatever it is, work with that in the back of your mind. Find ways to accent that piece and use it as inspiration to tie the whole space together, while using elements of color and style of the focal point.
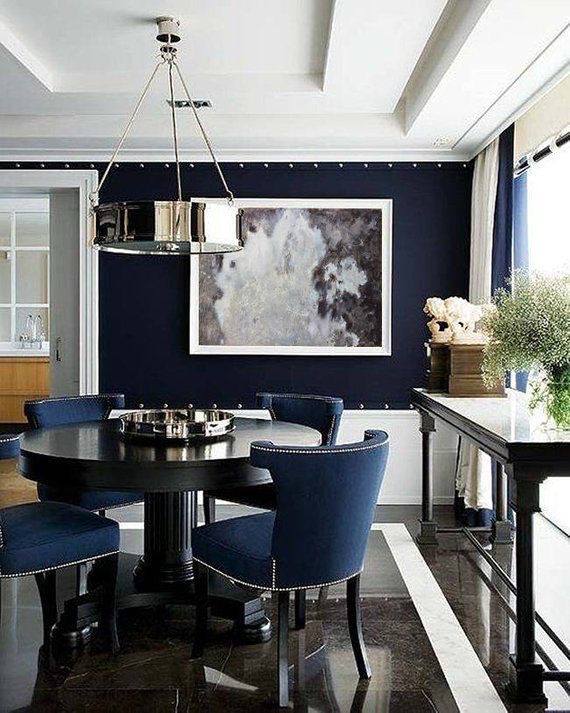
So if you have a federal style fireplace, what kind of furniture or fabrics will complement it well? Or if you really love that one shade of mustard yellow in a painting, try to design the room with soft furnishings of the same hue and intensity.
The Fun Stuff
Now that you have your mood, measurements, color scheme and focus, you can start searching for (or repurposing) decor and furnishings! Because you’ve already taken “inventory” of your space when you examined your lifestyle, you can decide if any of the pieces will fit the new Mood, as well as the size of the room.
Say you have a sofa that is still structurally sound but perhaps doesn’t quite fit the design. Instead of starting over, consider reupholstering it. You already know that is the right size and style you want, you just have to update the fabric. This can cost far less than a brand new sofa.
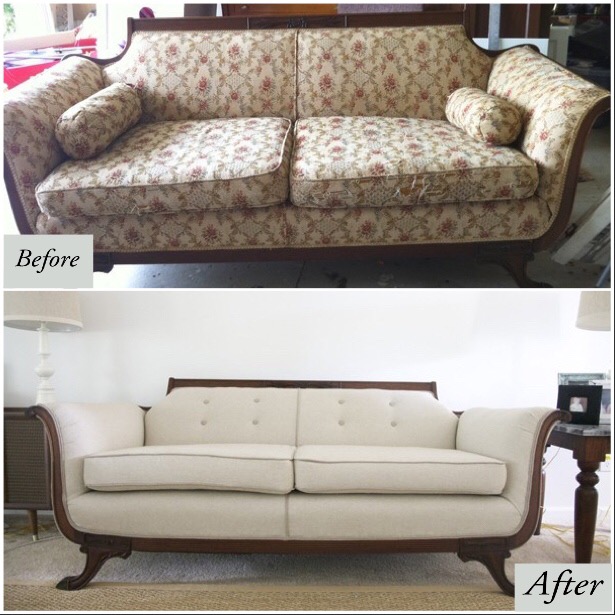
Changing the traditional floral upholstery on this sofa to a simple white fabric gave it a sleek, modern look.
(It’s common to find that the older the piece, the sturdier it was built. Take advantage of the strong frame and repurpose outdated pieces.)
In a perfect world, we’d never have to replace furniture. But we all know life happens and sometimes you have to shop for new decor. When you’re out and about, keep a folder with you of the color scheme and a few inspiration pictures. You’ll want to know what you’re looking for before you start shopping so you don’t end up with stuff that doesn’t work. It’s also handy to keep a tape measure with you to check dimensions before you buy.
DIY Details
Hairpin Leg Coffee Table
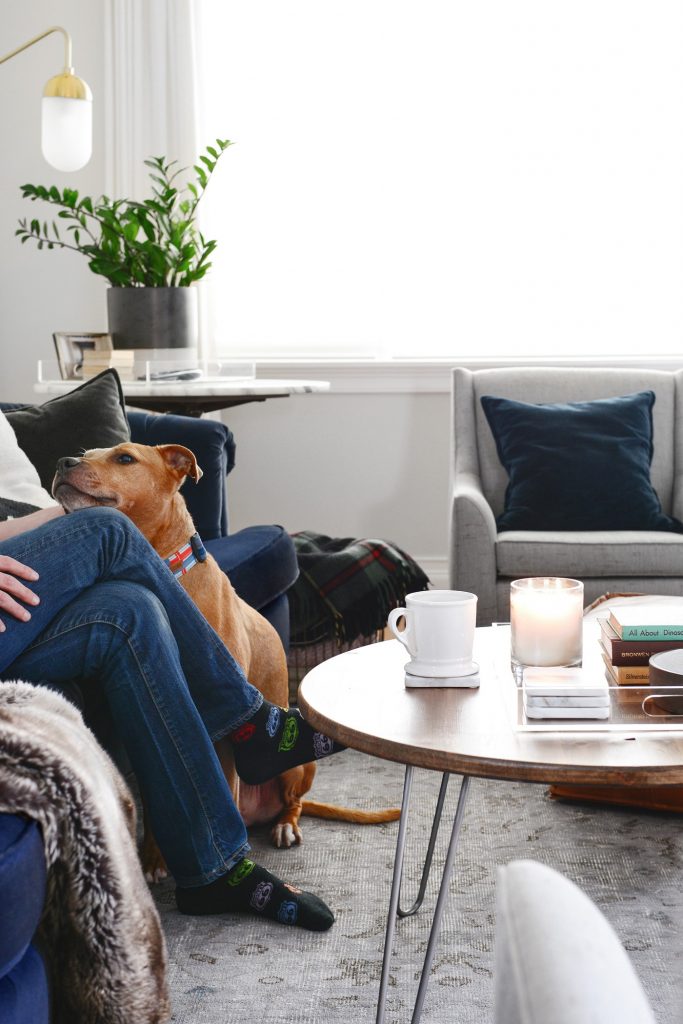
Is there a better way to make an interior design really your own than to build your furniture? Plus, when it’s this simple and stylish, you definitely can’t go wrong. In four simple steps and about $100, you can turn back time with this Mid-Century hairpin leg coffee table!
DIY Round Coffee Table with Hairpin Legs
- Sand
Using 220G sandpaper, sand down the surface and edge of your pine round
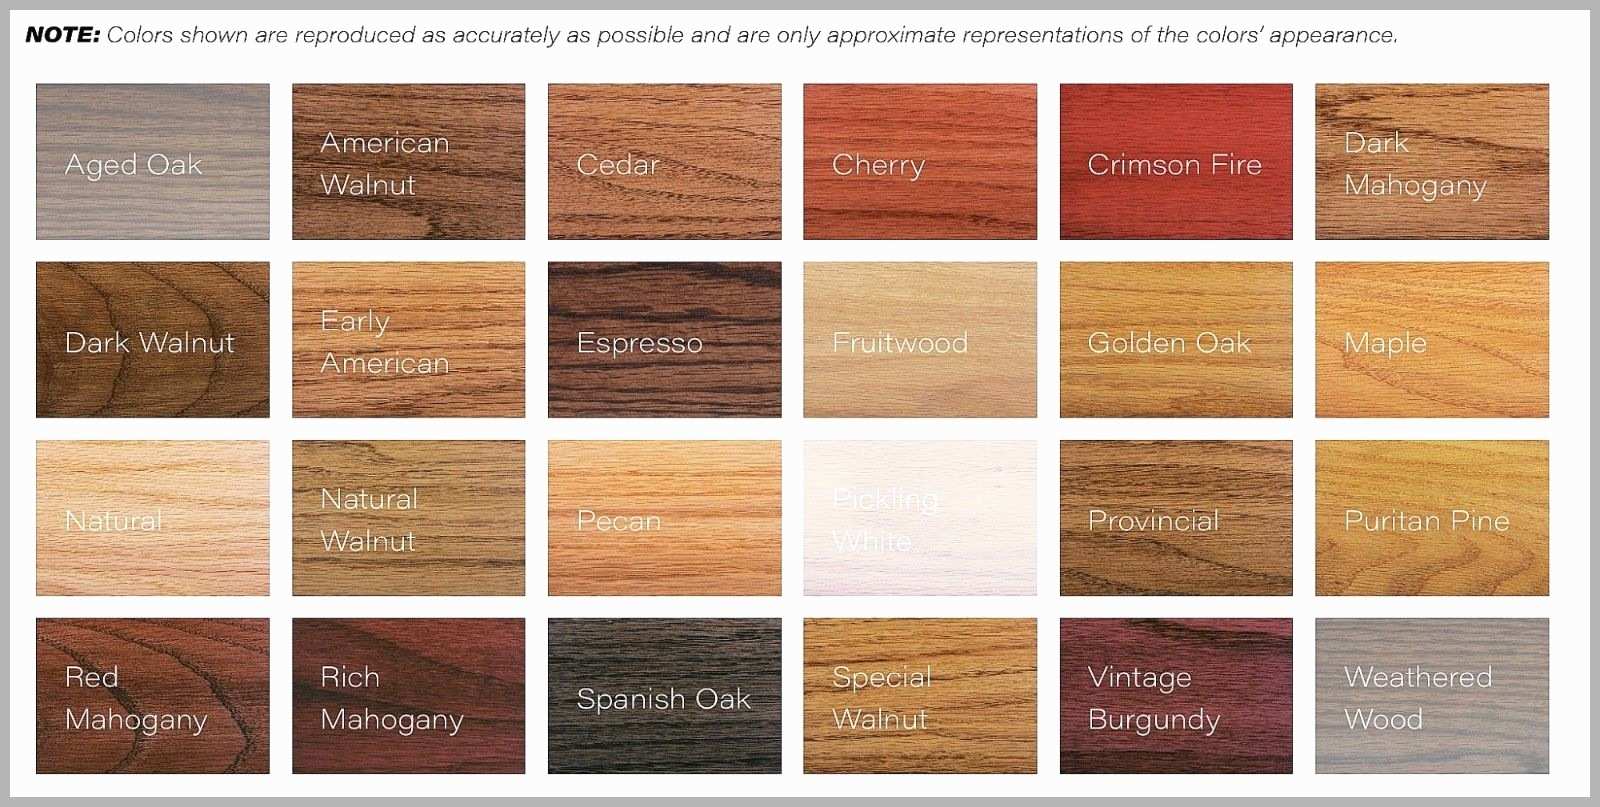
- Stain
With a foam brush or rag, apply a coat of your favorite penetrating stain (premium Old Master’s stains are available in-store). Once you’ve stained the whole round, go back with a clean rag and wipe off the excess stain. Let dry overnight.
- Poly
Using a foam roller or brush, apply a thin layer of polyurethane. Follow dry time instructions on the can, then lightly sand and reapply 2-3 more coats.
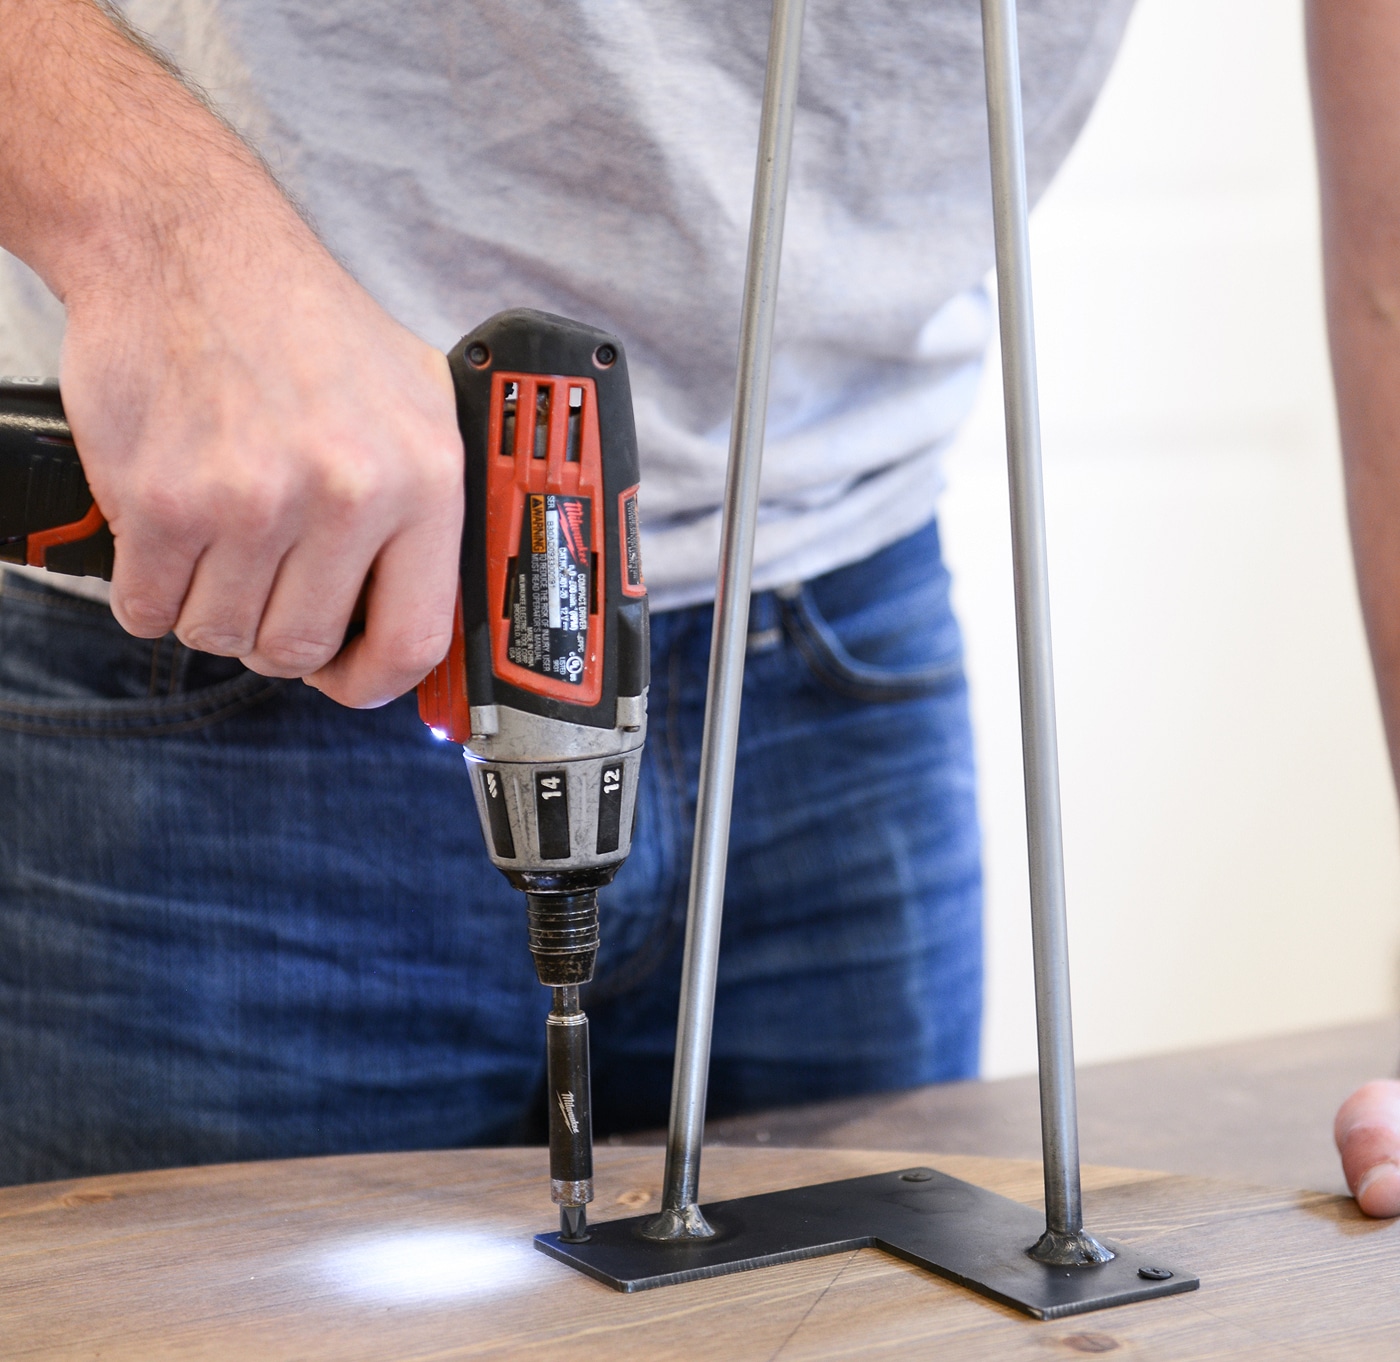
Note: while water-based polyurethane is easy to clean up, it dries much thinner than oil-based. If you decide to take that route, make sure you apply at least 4 coats for a good, even finish. - Attach the legs
Find the center of the table then draw an “X” with a pencil all the way to the edges. At the ends of those four points, measure about 1 1/2” in and screw on each leg.
- Enjoy!
Place it, style it, love it.
Remember to download your copy of our Interior Design Handbook to keep track of your stain and paint colors, fabric samples, and design inspiration!